So, you’ve decided to pack your things and move into a new home. Well, you sure don’t want to leave those beloved home automation devices behind!
There are a few important steps you should take when moving your smart home technology and automation systems; first step, don’t wait until the last minute to get them safely removed and packed away. Like the family pet, each smart device in your home has its own unique needs that must be considered when moving and you also need to research to know how to transfer it correctly or whether it can be moved at all.
NOTE: If you still have any instruction/set up guides, make sure to take them with you.
Since Z-Wave and Zigbee are the most common communication protocols for the devices you have linked to your smart home hub, that is what we’re going to focus on in this article. To that end, we’ve put together four basic steps that will make things a lot easier for you when you are packing away and then setting up your smart home in your new home.
1. Make a list of your devices
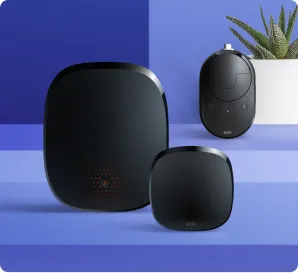
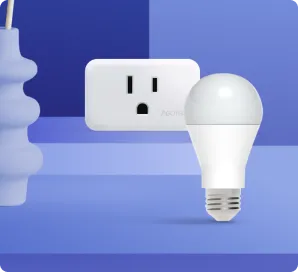
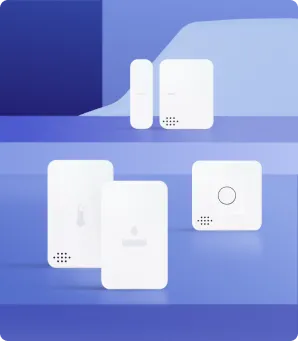
Every home is a bit different, so cataloging your devices will make your life so much easier when it comes to re-organizing them in your new home. This is the moment when you’ll want to go through each room in your current home and make an inventory of all your smart devices including, sensors, smart speakers, plug-in modules, smart bulbs, thermostats, etc. It’s a great opportunity to group them by the rooms in which they were originally located, and you can even use sticky notes to color-code them for easy reference when you unpack them later.
2. Who comes with you and who, sadly, stays?
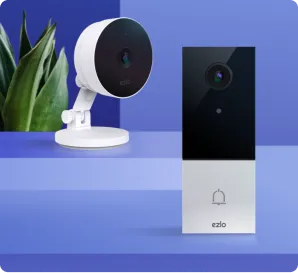
Once you’ve made an inventory of all your smart home devices, you’ll need to make the toughest decision in the entire process: you need to decide which, if any, devices you’ll leave behind and which of them you’ll (?) leave behind. We know how attached you and your family members can get to, say, a favorite video doorbell. But, in some instances, as the saying goes, “you can’t take it with you.”
For example, it’s easy to remove battery-operated devices, plug-in modules, and thermostats, but when it comes to hardwired electrical devices and, say door locks, they can be difficult to remove. While we know how hard it can be to leave a device behind, well, sometimes it’s just… unavoidable.
If you do leave some devices behind, make sure you reset each device to factory settings, so they are no longer connected with any of your personal information, passwords, or credit card information. Then, give them each a tiny hug — when no one is looking, of course — and say your tearful goodbyes.
3. Unpair and reset all your Z-Wave and Zigbee devices before you leave
Z-Wave and Zigbee communication are two of the most reliable and stable protocols available on the market if they are set up correctly. But since they create a mesh network, they are highly dependent on the environment and positioning of other devices around them to work in optimal ways. Therefore, just packing everything up and hoping that they’ll work out of the box in your next home is not something we recommend.
Once you’ve decided what to take with you, take one more pass through each of the rooms to exclude and reset all the devices before packaging everything safely and securely. This will allow you to start fresh in your new home.
Unpairing Z-Wave devices is a two-step process. First, you need to put your smart home controller in Exclude mode, then physically reset each individual device (usually one or more taps on a tamper or power switch) followed by the on-screen confirmation that the device was detected and excluded. These two steps will have to be followed for each of your devices.
Tip: For battery-operated devices consider bringing them closer to your hub before doing the exclusion sequence so there are better chances that they will be detected on the first try. Excluding a device will also reset it. The same process is working for the Zigbee devices but make sure you choose Zigbee unpairing from the controller.
4. Take your time and make a plan before re-installing.
Just because the devices worked at your last home, don’t assume they’ll all work perfectly in your new location. Before you start setting up, we recommend having the directions and pairing manuals for all of your devices in front of you; everything will go much quicker and easier this way. For battery-operated devices, put in a fresh set of batteries to make sure they will communicate reliably.
A properly planned out Z-Wave or Zigbee network makes all the difference when it comes to reliable and lag-free communication between your devices and hub, so we recommend taking your time with the planning and following these easy steps:
1. Z-Wave and Zigbee devices rely on hardwired devices like switches, bulbs, and plugs to better relay the signal throughout your home. So make sure you have a good mix of battery-operated devices and stand-alone Z-Wave signal repeaters that are spread out strategically, covering your entire home.
2. Work your way out from the center of your home
Since we are working with meshed network devices, watch for any weak points or bottlenecks in your new setup that would cause devices to disconnect or have lag. Bottlenecks might be created when there is only a single path that serves as a repeater to a group of devices. Position your controller as centrally as possible, pairing the closest devices first, then work your way outward. If you’re having difficulty with any of the devices, always try to exclude/unpair before trying to pair them again. For door locks and other battery-operated devices, you might need to bring them closer to the controller to be detected.
In closing, hopefully, these tips will help you make the transition to your new smart home quick and easy. For users of our Ezlo controllers, if you find yourself missing that doorbell or lock that you left behind, we can offer little in terms of help. If, however, you find yourself in difficulty with the device setup in your new home, our Vera Easy Start service offers personalized setup support over the phone to get you started in minutes with zero-touch customer service. Check it out.

